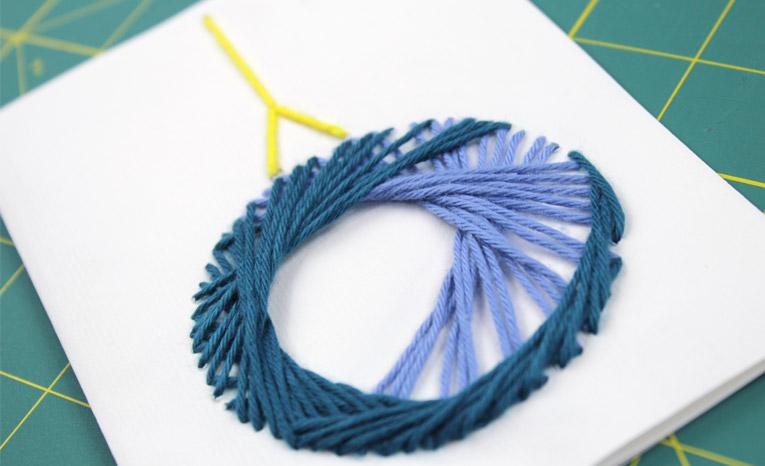
Embroidery is said to be an activity that rests your mind, so here's a great way to combine usefulness with delight, making embroidered Christmas cards. This is a relaxing way to prepare for the rush of festivities and of course, a unique and personalized way to wish your loved ones a happy Christmas.
You will need:
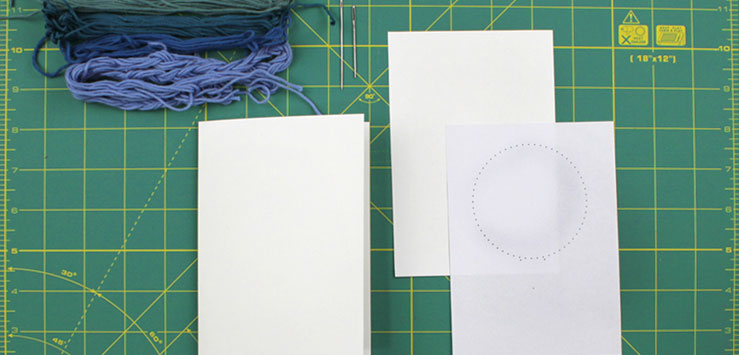
Thick A4 paper, embroidery needle, sewing needle, embroidery thread in your favorite colour.
Download and print our pattern.
Cut your A4 paper sheet in half along the long side, then fold it in half to create a greetings card.
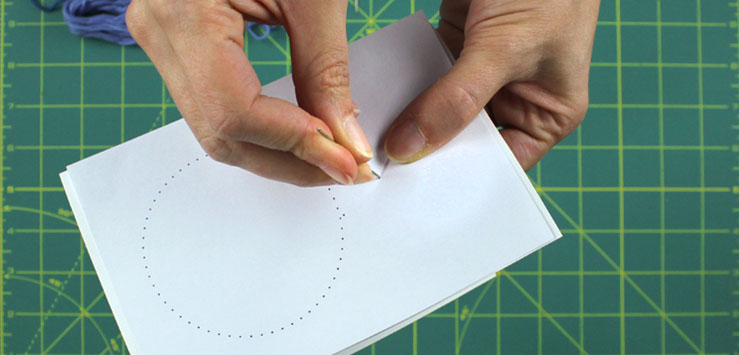
Place the first shape from our pattern onto the front of the card and use the sewing needle to create small holes, matching every dot.
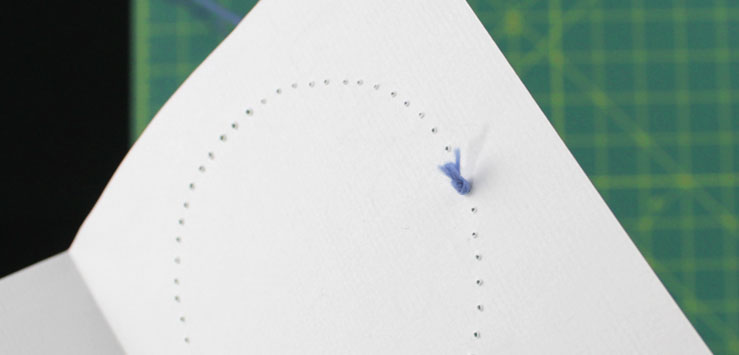
Once you have pierced all the dots in the pattern, make a knot in the thread and use your embroidery needle to sew from number 1 to number 2 and so on.
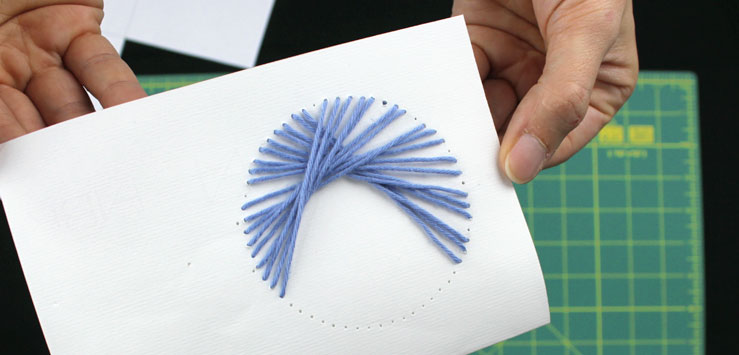
Keep following the numbers in the pattern until you reach the end, then finish off the embroidery with another knot.
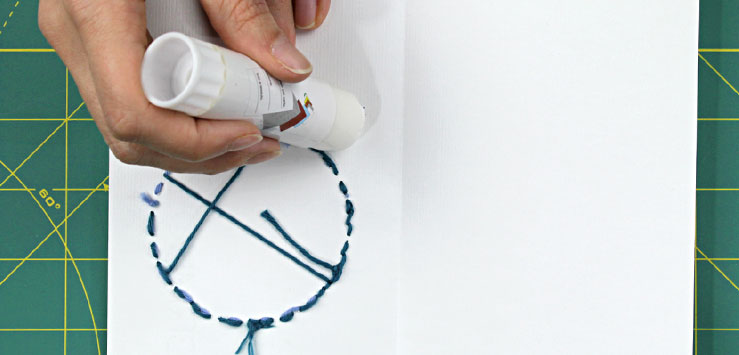
Cut the remaining paper in half to create another A5 sheet that will be glued on the back of the embroidery to cover it.
That’s it! Looking for more ideas on how to make your greeting cards special? Read our Greeting cards with fuse beads tutorial.